Hello, crafty friends! Hope you are all having a wonderful day! The new The Ton’s Challenge is now live and for this month, the cue word is Spring! I know many of you had a cold snowy winter, so I’m sure you are ready for some bright and colorful spring in your life! Hope you could join our challenge this month!
Hope you’d join for a chance to win a $50 spree to The Ton’s shop!
*Gift certificates only apply to The Ton Stamps, Dies, Ink, Gilding, and Embossing Powder.
Here is how to play:
To participate in our challenge, create a paper crafting project based on the monthly theme.
- You must use a Ton product as the main focal point of your card or tag.
- Display the cue word/inspiration photo on your blog post and include a link to this challenge in the body of your post.
- There is no limit to the number of projects you wish to enter into the challenge.
- The winning project will be chosen based upon detail, composition and aesthetics.
- Enter your card by March 31, 2018 by 12:55pm EST.
- There is a $50 Gift card that will go to the winning entry!
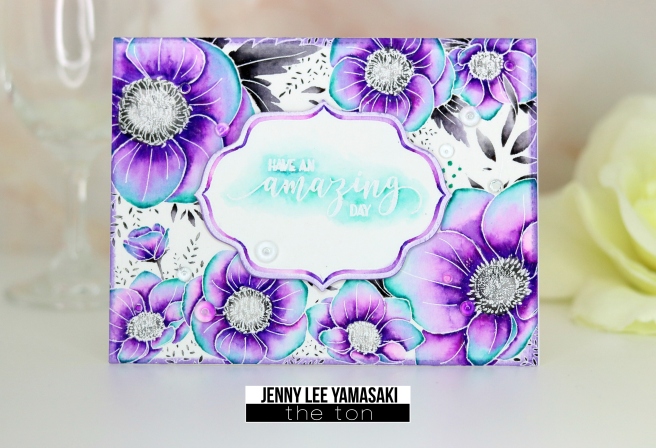
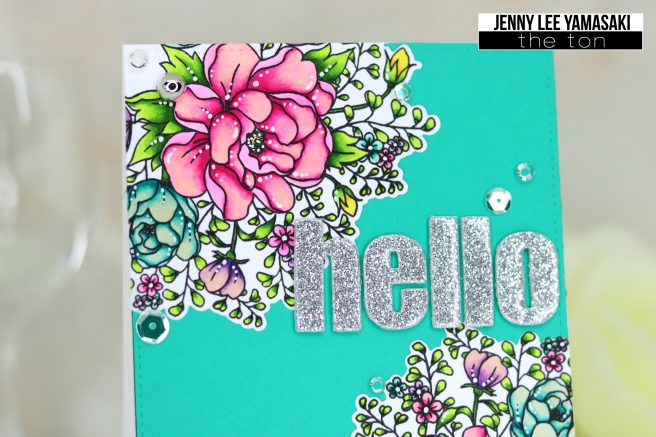
I have 2 bright and colorful floral cards to share with you today and here’s the 1st card I created using the Peony Bouquet Stamp & Coordinating Dies and Bold General Greeting Word Plate Dies!
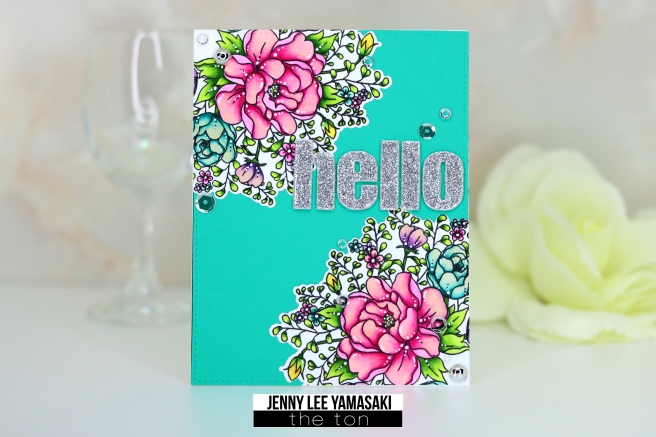
I started off by stamping the Peony Bouquet on 2 corners of a A2 sized smooth white cardstock in our Copic-friendly Caviar Hybrid ink. I also stamped the same on a turquoise cardstock using the MISTI tool. I die cut the turquoise panel first with the largest layer from the Large Double Stitched Rectangle Dies and then the bouquets using the Coordinating Dies. I colored the bouquets on white cardstock with Copic markers. Colors I used are: RV02, RV06, RV23, RV09, E50, BG49, BG15, BG13, BG10, V17, V15, V01, Y17, Y06, YG67, YG17, YG03, and YG01. After coloring, I added some white dots and lines using white gel pen. I adhered the Copic colored panel on a white A2 sized panel and the turquoise panel on top.

Next, I adhered Glossy Fine Silver Adhesive Glitter paper on a white fun foam and die cut the sentiment “hello” using the Bold General Greeting Word Plate Dies. I adhered the die cut “hello” on the card using liquid adhesive and finished the card by adding Silver Dew Drops, Clear Rhinestones, and Glass Slippers Sequins.
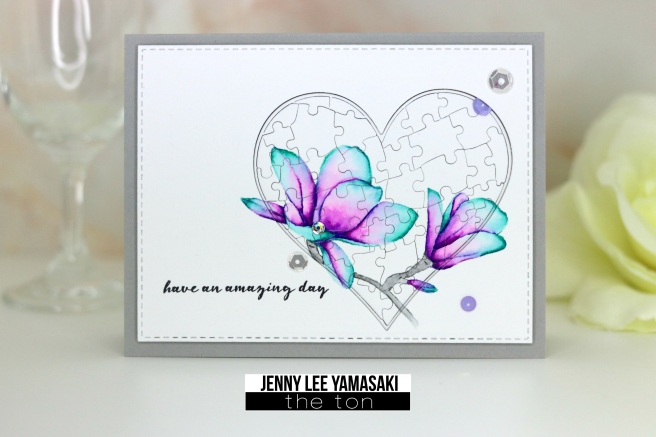
Here’s the 2nd card I created the same way as the 1st one, but with our beautiful Tulip Bouquet stamp set and the Coordinating Dies!
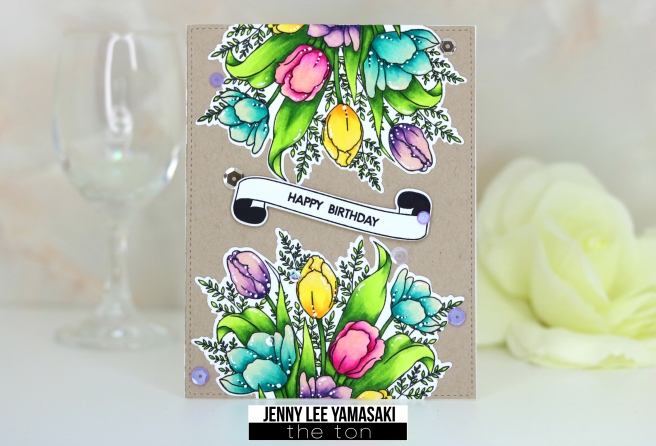
To start off, I partially stamped the Tulip Bouquet on top and bottom of both smooth white cardstock and kraft cardstock in Caviar Hybrid ink. I die cut the kraft cardstock first with the largest layer from the Large Double Stitched Rectangle Dies and then the bouquets using the Coordinating Dies. I colored the stamped images on the white cardstock in same color I used for the first card and added gel pen highlights. I adhered the Copic colored panel on a white A2 cardstock and the kraft on top.
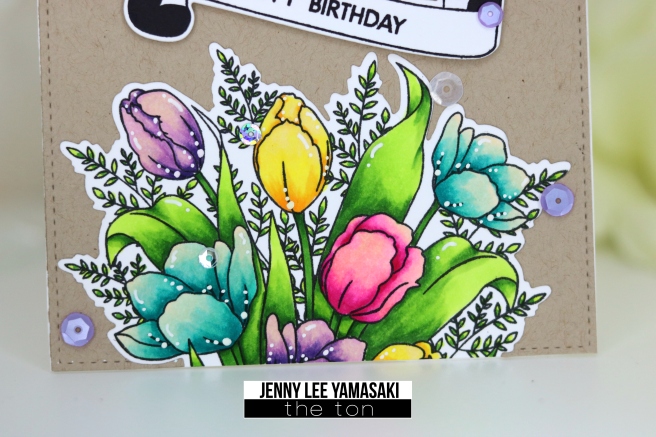
Next, I stamped the banner and sentiment from Basic Banner stamp set in Noir Dye ink and die cut it out using the Coordinating Dies. I popped the sentiment banner in the middle of the card using the dimensional foam tape and finished the card by adding Lilac Blossoms Couture Mix and Glass Slippers sequins.

Hope you enjoyed today’s projects and that you’d join the “Spring” challenge this month! Have a wonderful day! Happy Crafting!
hugs,